
How Do I Frame a Newborn Photo Perfectly?
Simple Composition Tips for Beautiful Baby Photography at Home
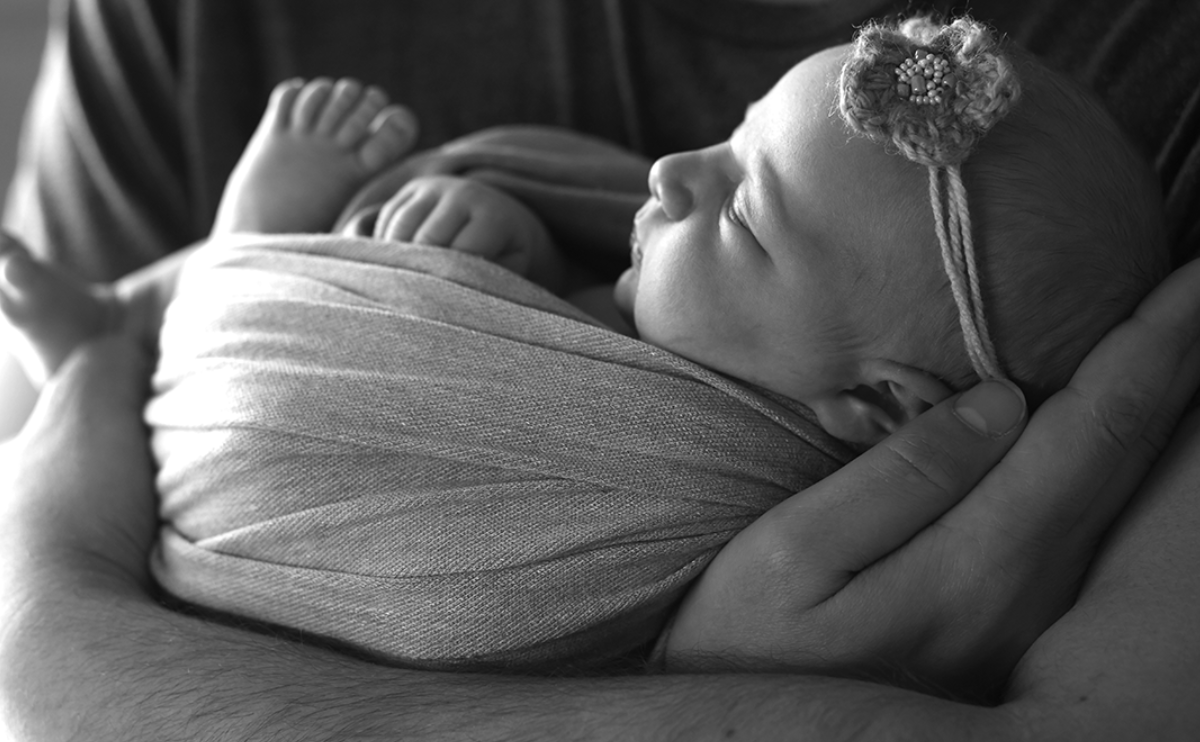
Taking photos of your newborn at home can feel both exciting and overwhelming. You want to capture every tiny detail — the little hands, sleepy smiles, and squishy cheeks — but sometimes the photos don’t turn out quite like the ones you see online.
The truth is, one of the biggest differences between an “okay” photo and a beautiful one comes down to one thing: composition.
Good composition doesn’t mean fancy gear or professional experience. It’s simply the art of how you frame your photo — and with a few basic tips, you can create newborn pictures that look soft, polished, and totally frame-worthy.
Let’s break it down step-by-step so you can feel confident capturing your little one right from your living room.
What Does “Framing” Mean in Photography?
Framing is how you arrange your subject (your baby!) and the elements around them within the photo. It’s about where you place your baby, how much of them you show, and what surrounds them.
Think of it like storytelling through your lens — the way you frame the shot helps highlight what’s most important and creates a natural flow for the viewer’s eyes.
Tip 1: Use the Rule of Thirds
This is one of the most basic — and powerful — composition tools.
What it is:
Imagine breaking your photo into a 3x3 grid (many phone cameras already show this). Instead of placing your baby dead center, try aligning them along one of the grid lines, or placing their eyes or face at one of the intersections.
Why it works:
It adds balance, draws attention to key features, and makes the photo more visually interesting.
Try it with:
- Baby’s face on the top-right third of the frame
- Parent’s hand holding baby’s feet on a lower third line
- Baby lying diagonally across the grid
Tip 2: Shoot From Different Angles — Not Just Straight On
Most parents instinctively shoot from above or straight on. But shifting your angle just a little can totally change the feel of your photo.
Try:
- 45-degree angle from the side for a soft, natural profile
- Low angles for dramatic close-ups of baby’s face or hands
- Overhead flat-lay to show baby lying down surrounded by blankets, toys, or props
Why it matters:
Different angles can emphasize size, details, and mood — plus they help your photos stand out from the everyday scroll.
Tip 3: Keep the Background Simple and Neutral
A clean background helps your baby stand out — and keeps the photo timeless.
Use:
- A plain white duvet or swaddle
- A soft blanket in pastel or neutral tones
- A well-lit wall or uncluttered space in your home
Avoid bright, patterned, or overly busy backgrounds that take attention away from your baby.
Bonus tip:
If you’re using the floor, lay down a textured blanket and make sure there’s no furniture or clutter behind your shot.
Tip 4: Frame Close — But Not Too Close
Zooming in too tight can cut off important details. Try to leave a bit of space around your baby, especially above the head or around their hands and feet.
Why?
That breathing room makes the photo feel more relaxed, and it gives you space for cropping or adding text later (great for milestone photos!).
Great framing examples:
- Baby’s whole body from above, with space on all sides
- Close-up of baby’s face with hands in frame
- Tight shot of baby feet with just a hint of background
Tip 5: Use Natural Frames in Your Environment
This is a super easy trick that makes your photo look thoughtful and artistic.
What to look for:
- A round basket, swaddle, or pillow framing baby’s body
- A doorway, window, or curtain softly framing a parent-baby cuddle
- A parent's hands encircling baby’s feet or face
These “frames within the frame” subtly guide the viewer’s eye and add emotional depth.
Tip 6: Think About Space and Storytelling
Sometimes, what you leave out of the photo is just as important as what you leave in.
Try:
- Leaving negative space (blank areas) around the baby for a calm, minimalist feel
- Including one small, meaningful detail (like a favorite teddy or a parent’s hand) to tell a bigger story
- Using symmetry (baby centered, arms out, swaddled) for clean, classic shots
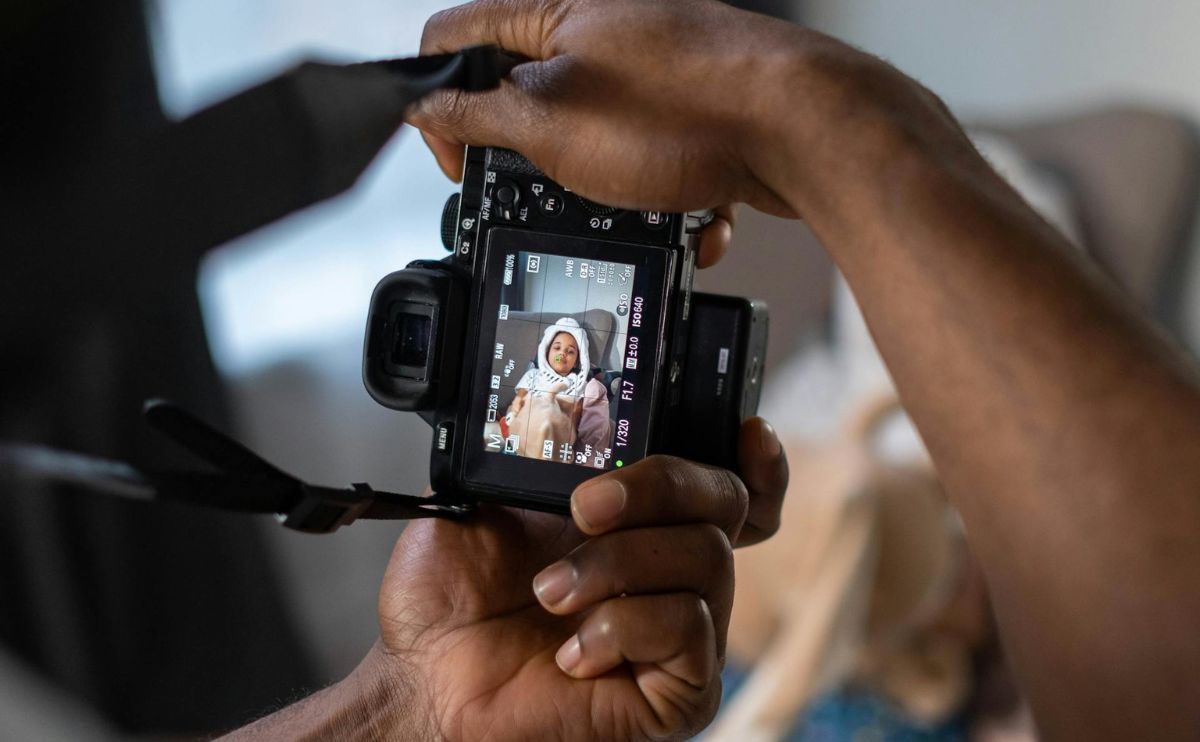
Tip 7: Use Your Phone’s Grid and Focus Features
Most phones let you:
- Turn on grid lines (great for rule of thirds)
- Tap to focus on baby’s face
- Adjust exposure by sliding your finger up/down after focusing
- Use portrait mode to softly blur the background
These small tweaks help you master composition even without a professional camera.

Comments